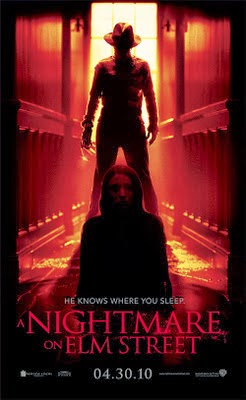
Friday 25 October 2013

Rough Shot List JB


Shot list
  • Police officers and ghost hunter in the office talking about the jogger, mid shot, flash to below shots, whilst this is happening could have some voice over of the police explaining what happened.
  • Close up of jogger’s ipod turning music on.
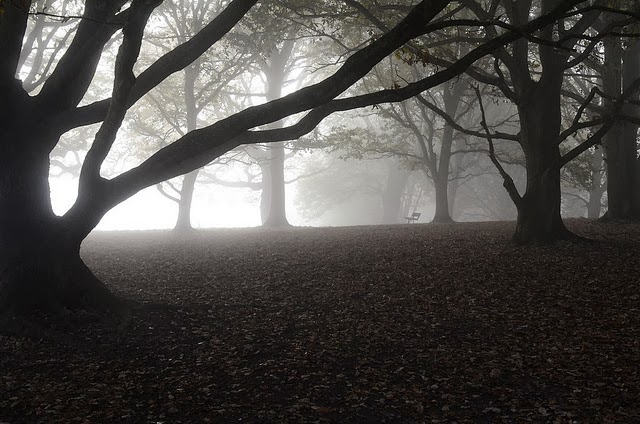
  • High shot of jogger running, perhaps from a tree.
  • Police investigation scene - POV shot of policeman writing notes
  • Mid shot of jogger running past trees. Close up of his face, perhaps before this a whip pan, giving the impression someone is there. He stops, looks confused and looks around a few times, then carries on running. Perhaps camera moving around him.
  • Mid shot of police officer asking ghost hunter about it.
  • POV shot of him running.
  • Close up of ghost hunter looking down at body
  • Another shot from beasts perspective, jumping on jogger, then a black flash
  • Mid/High shot of ghost hunter telling policemen it's probably supernatural, they laugh/don't believe him
  • A shot of the jogger lying on the floor, tracking away from him and giving a view of woods.
  • Blank screen again maybe more writing
  • Close shot of someone texting "Wanna come to the woods"etc
  • Mid shot of girl in her bedroom getting ready to go out
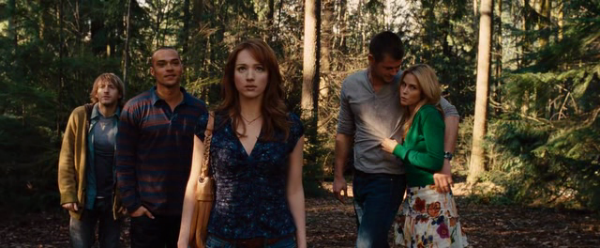
  • Long shot of group of teenagers entering the woods laughing 
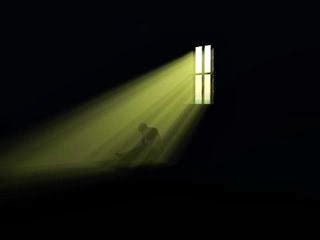
  • Close up of sign saying do not enter, just before the crime scene
  • Mid shot of girl looking worried, doesn't want to enter, then a boy grabs her and says it'll be fine and takes her into the woods with them
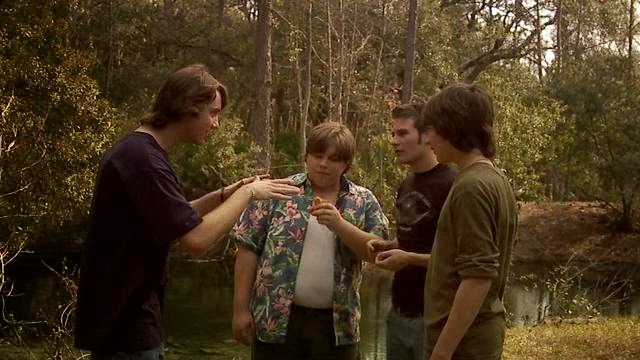
  • Long shot of teenagers sat in a circle drinking and laughing
  • Close up of one kid telling a ghost story about these woods being haunted and the jogger who died recently. - This could voiceover the next few shots
  • Close up of other kids saying they don't believe it, maybe one of the girl looking a bit worried
  • Mid shot of kid - Music change and kid gets grabbed out of the circle and screaming insues
  • Various different mid shots/close up of teenagers running in different directions
  • 2 more get picked off, mid shots of them being pulled maybe behind a tree and then screaming
  • A girl and boy running, close up of their faces running
  • Mid shot ghost hunter typing on computer
  • Could have a close up of computer screen, - NEED MORE INFORMATION
  • Close up ghost hunter look a little worried
  • Mid shot ghost hunter get angry and grab his coat and leave.
  • Mid shot ghost hunter walking into wood
  • Screaming, close up ghost hunter like what is this voice
  • ghost hunter run into wood to save little girl
  • close/mid shot girl backing away from yet another dead body.
  • Cut to ghost hunter holding up some sort of gun, mid shot, girl behind him looking scared
  • Ghost hunter holding girl whilst she shakes and cries/ bit of sexual tension, maybe almost kiss
  • Cut to both sitting under the bridge, mid shot, tracking in, slow long shot, holding head in hands
  • Cut to jumpscare possibly monster jumping from a tree etc

Wednesday 9 October 2013

Day for Night filming JB

The YouTube video below explain how to do Day for Night filming on a camera. I would like to test this to see if it would work for my film. There are several different ways I could film it. It could be day for night using the camera, day for night using final cut pro, day for night using both, or I could film at night. I am going to test all of these options out and decide which one would be best for my film.


Tuesday 8 October 2013

Picture Editing ideas EA

I have taken this picture of Sydhenem Hill Forest and edited it in motion.

I have added a filter called bad film, this makes the image look grey and pixelated. I copied and layered more of the same bad film filters and increased certain features of each one such as focus, focus variance, jitter and jitter variance. This makes it have a climax at around 4 seconds through, I added a small face that appears briefly just to test my ability to use motion. The face looks scary however it was still not very well executed, I added the bad film filter to the image of the face however this did not help it blend in, instead I turned the opacity of the image down and gave it a quick fade in and out which made it look more natural and less forced. Because I used the bad film filter I figured it could be in my interest to add the timecode in the left corner of the screen and see if I can make it fit to show that the scene is being filmed. I grouped the timecode with the image so it did not look layered and so it shares the climax. Finally I wanted to experiment with text in the motion package, I added the text "THE WOODS" in the calligraphic font. I added the text to the same group as the timecode and picture to make it seem more smooth and so I did not have to edit each piece separately.


Friday 4 October 2013

Aesthetics and Visual Style JB

Most horror films have particulars styles and aesthetics. They are all very similar styles and I'm going to take a look at some of the conventional aesthetics for horror and then look at how ours would look.

The colour pallet for horror films is usually dark colours, with a lot of red, either blood or other. The darkness of the pallet helps the audience becomes more scared as it creates a sense of unknown and gives more mystery to the look. The colour red is either a use of blood or a sign of fire or anger and because of this, this colour is prominent in most horror films. Examples of this is below.


A Nightmare on Elm Street is a classic horror and even the poster shows mostly red and black, showing both the conventions I stated above.


Most of the locations for horror films are pretty similar as well. Most of them take place in a singular house, or perhaps abandoned mansion/hospital. However lots of them also take place in forests. This is the main location for our horror film and so in this way it is similar to other horror aesthetics. An example of a horror film taking place only in woods is The Cabin in the Woods or The Woods Have Eyes. Pictured below.

     
The lightning in horror films is one of the most important aspects of the genre. The lighting can create a really scary atmosphere. The lighting in most horror films are very similar. They're all have a grey dull colour pallet as they are meant to have a moody feel, and make you tense or uneasy, which is why the grey colour is good as you can't always tell what's happening. The lighting i'll use in my film will mainly be natural, like you can see above, as the woods bring an ominous glow to the light when it's natural, and you get it split up by the trees giving a detached broken feel to the light. During the night scenes I may use some lights on people's faces to bring out their emotions, but never full on, to the side of their face so you can only just see what they're thinking/feeling giving a tense mystery. Some interesting lighting in horror films are pictured below.


 All of these lighting techniques work really well. The first one represents an ideal lighting set up for my film, giving an ominous look with the mist and woods. However this would be very hard to achieve as I would have to film it all on a misty day. The colour pallet is also very similar to one I would be using, it mostly being grey and black. The second picture I think works really well for horror films, the classic sunlight shining in through a window, onto a figure. This works because you can't see any of the rest of the room and you can barely see what the figure is so it gives an intense mystery feel. This again might be difficult to do unless I found the perfect location. The third picture, from friday the 13th has used light coming in from the side, again from a window to show up certain bits of the frame. You can see vividly the window curtains, her face seems as if it's lit from below, and you can see the enemy right behind her, only his face lit up though. This creates a sense of mystery but would probably be the most you'd see of the enemy at once in this film or mine, perhaps used for a jump scare. I would definitely like to use the light coming in from the side idea, maybe coming around the corner from car headlights or something. The last picture has lighting from above and to the side. This works well by lighting up most of the surroundings giving a sense of location, but at the same time keeping the figure in the middle fairly unlit and giving it a spooky feel. This would be a good technique to use, I would have a figure standing in the middle of the frame with light coming from most angles, so you can see most of the wood, but not much of the figure. The figure could also have his back turned and then turn around for a jump scare.

The framing in horror films is also used to much effect. Usually the characters are in the centre of the frame, as you can see from the two pictures above from The Cabin in the Woods and The Woods Have Eyes. They also seem to have not much around them, and in the last picture when I was talking about lighting the positioning is again centre frame with empty space around them. This gives a creepy feel as you have a sense of absence around them.